
Setup guide · Video doorbell
Set up your Smart Video Doorbell
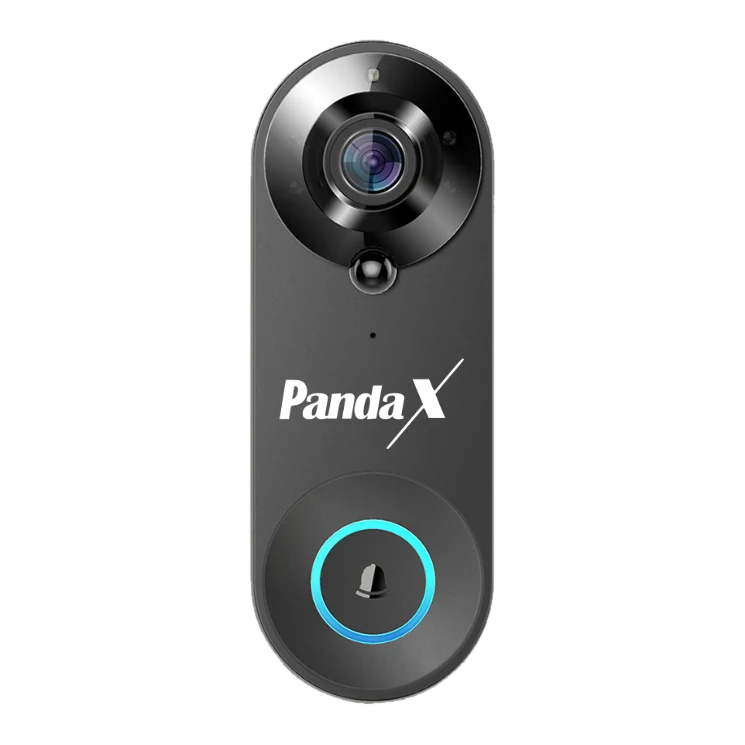
Wireless and battery-powered, so there's no wiring or electrician. Charge it, pair it in the Smart Life app, then mount it at your door.
Before you start
- Download the free Smart Life app (Google Play or App Store) and create an account.
- Use 2.4 GHz Wi-Fi. 5 GHz-only networks won't work. If your router combines both bands under one name, turn on 2.4 GHz or "mixed mode" in the router settings.
- Keep your Wi-Fi name and password handy.
- Allow the app to use Bluetooth, location and notifications when asked. Phones need these to find new devices.
What's in the box
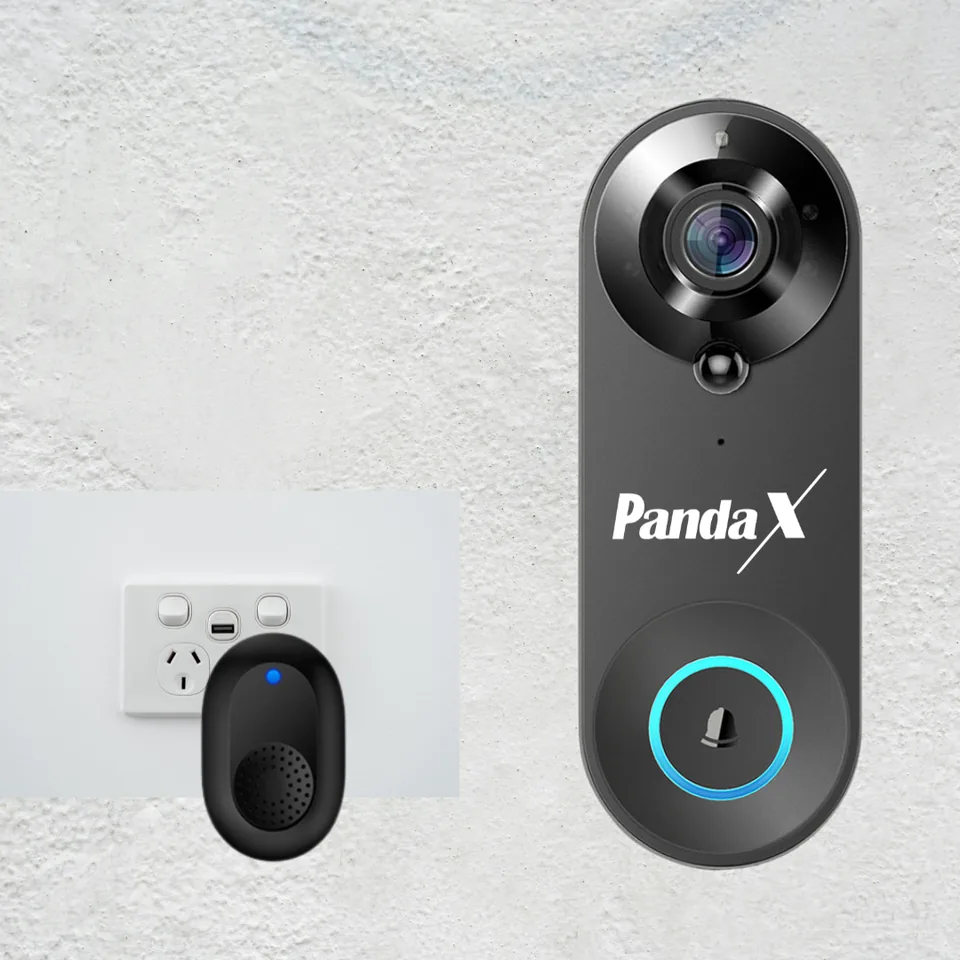
Video doorbell, mounting plate/base, indoor USB chime, charging cable, screws and adhesive, unmounting pin, position sticker, user guide.
Step 1
Charge it fully
Plug the doorbell into a 5V 1A USB adapter (a regular phone charger) using the included cable. The light is red while charging and turns green when full. Charge fully before the first use.
Step 2
Install the Smart Life app
Download Smart Life, sign up and log in. Turn on notifications for the app.
Step 3
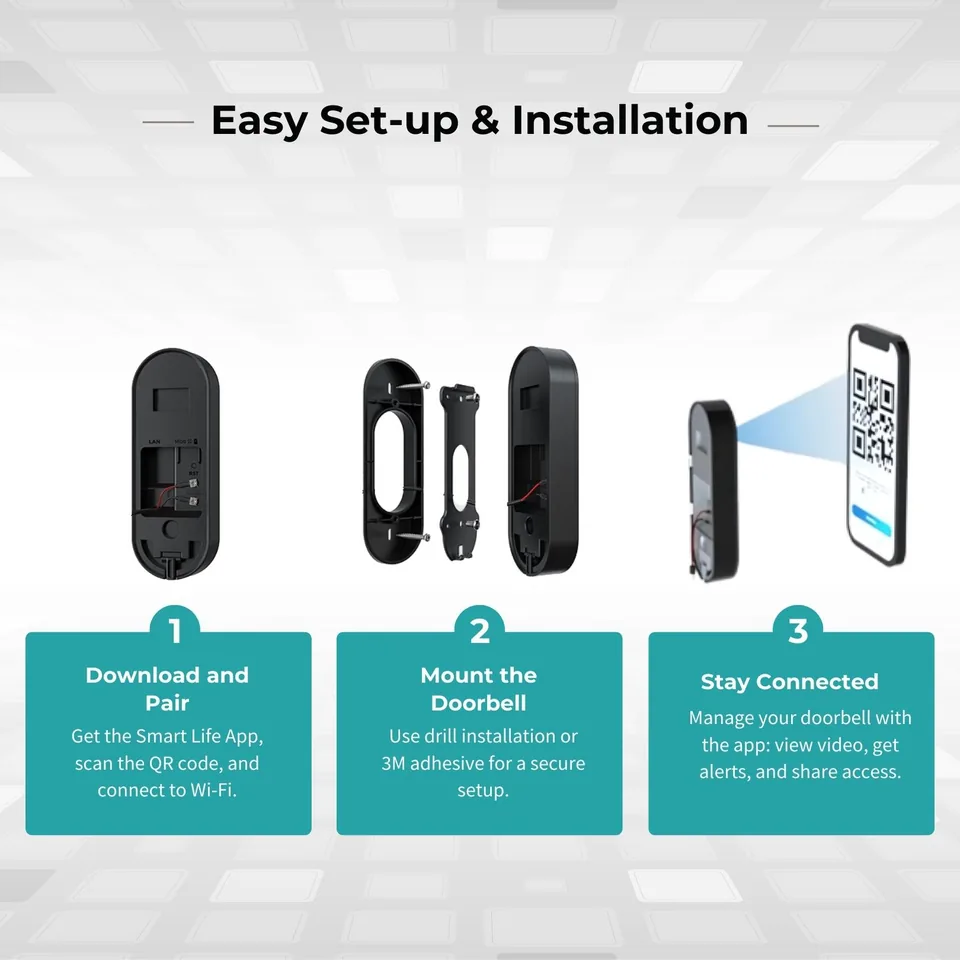
Pair the doorbell
- Stand near your router with your phone on the 2.4 GHz network.
- Turn the doorbell on.
- If it's not in pairing mode, press and hold Reset for about 3 seconds until you hear "System reset", then "Camera is now ready for pairing".
- In Smart Life, tap + (Add device). Pick the doorbell from the list or let the app find it automatically.
- Enter your Wi-Fi name and password.
- Follow the app — usually it shows a QR code on your phone screen. Hold it 15–20 cm in front of the doorbell lens until you hear a confirmation tone.
- Wait for "Added successfully", then give it a name like "Main Door".
Pairing not working?
Step 4
Check the signal at the door
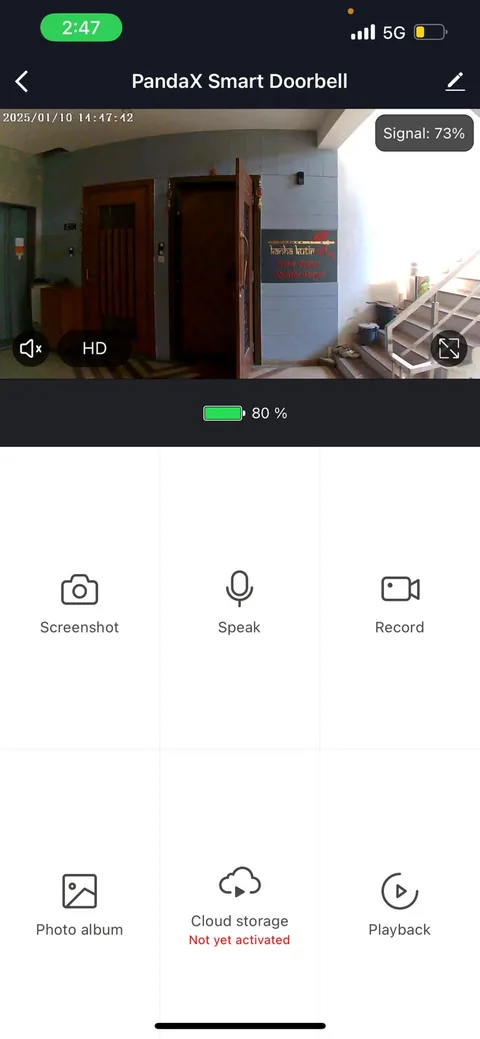
Before you fix it, take the doorbell to the door and open live view. If video is smooth, you're good. If it lags or drops, your Wi-Fi is weak there — move the router closer or add a 2.4 GHz range extender.
Step 5
Mount it
- Height: about 1.2–1.5 m from the floor works for most doors.
- Use the position sticker to mark the spot.
- Avoid metal surfaces and metal door frames — they weaken Wi-Fi.
- Choose a sheltered spot, away from direct rain.
- Fix the base with the adhesive (clean, dry, flat surface) or the screws for a firmer hold.
- Click the doorbell onto the base. To remove it later, push the unmounting pin into the release hole.
Step 6
Pair the indoor chime
- Plug the chime into any USB power point indoors (a USB adapter or USB socket).
- Put the chime in pairing mode.
- Press the doorbell button. The chime plays a melody to confirm it's paired.
- Press the chime's buttons to choose from 56 melodies and 5 volume levels.
A chime can be paired with up to 5 doorbell buttons.
Step 7
Set up alerts, storage and sharing
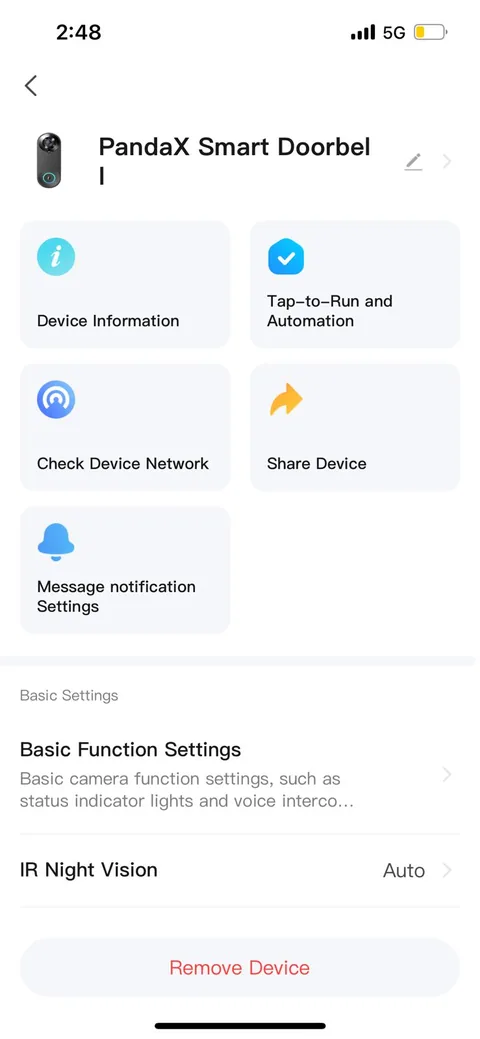
- Motion alerts: switch on motion detection in device settings.
- Recording: insert a microSD card (up to 64 GB, not included), or start the cloud-storage trial in the app. Cloud is a paid Tuya plan after the trial.
- Family: share the device from the app (Profile → Home management → add members, or Device → Share).
Ho gaya! Ab darwaze pe kaun hai, phone pe dekho.
Charging tips
- The app shows the battery level. Charge when it gets low.
- Battery life depends on how many rings, alerts and live-view sessions you have each day. Fewer unnecessary motion alerts means longer between charges.
Still stuck?
WhatsApp or email us with your order ID, the product and a short video of the problem. We usually reply within 24 hours.